Showing posts with label holiday cards. Show all posts

Friday, 25 September 2020

Dreaming about Vacation

 Well, we all are, aren't we? ;)

Anyhow, a real vacation is not happening for me anytime sooner, so I thought why not try and mimic that experience and feeling of going on a holiday. Yeah, card making does that trick for me ;)

I made this holiday-themed card to paly along a couple of my favorite challenges using dies from Sizzix.
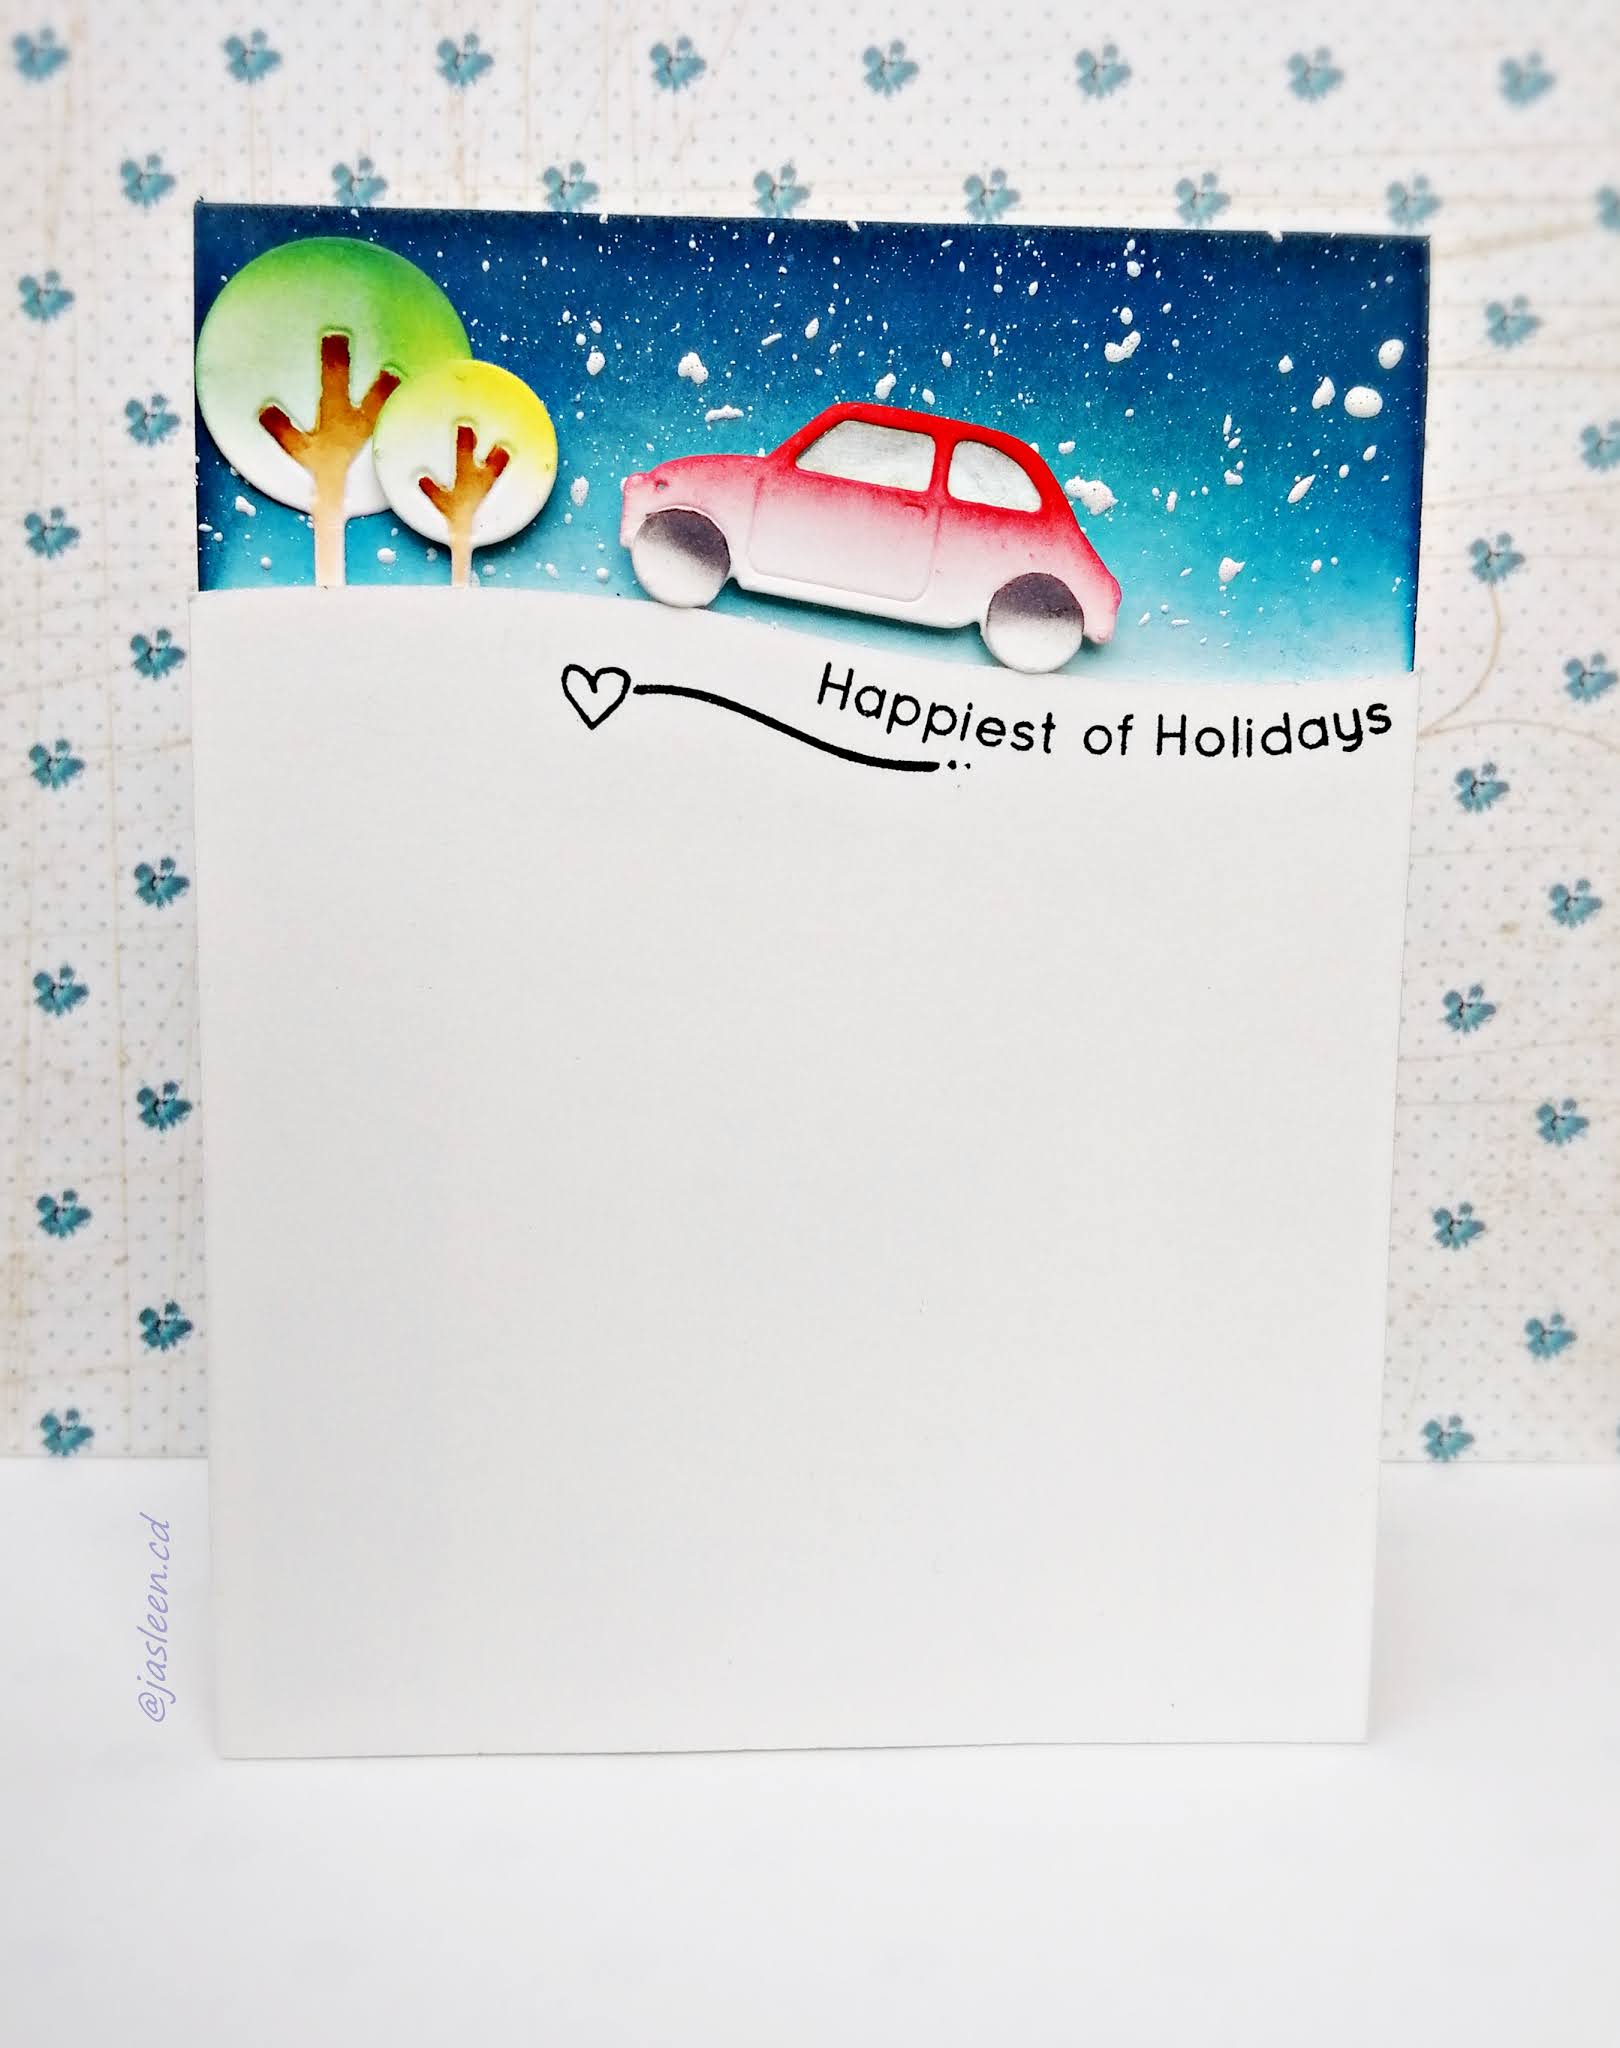


I started by masking the upper third area of my card base and sponging distress inks to create a night sky. The white splatters were added using white acrylic paint and a brush. For making that curvy landscape panel edge, I used Sizzix Thinlits Die- Build a Landscape (#662839). Those cute little tress are from the same die set. I like the simplicity of those trees. Perfect for CAS cards!

The car is from Sizzix Thinlits die set-- Summertime (#662547). The die cuts were sponged using distress inks too.

The sentiment from MFT was aligned on the stamping tool such that it aligns along the edge. After stamping the sentiment, I still felt that something was missing. Therefore, I stamped that curvy line along with the tiny heart form Neat and Tangled stamp set (Thank you, Pooja for gifting this to me) to add interest.

I hope you like the card.

Linking this up with the following challenges:

AAA Card Challenge-- CAS Game #174 - Up To One Third + optional twist Woodland Animals

CASology Week 374: VACATION

Uniko Challenge #61 - Anything Goes + optional twist Thanks


Thanks for stopping by! Have a super week ahead.


Sunday, 15 December 2019

Inked background with an uncoloured image

I got my distress inks out after ages, or so it seems. I have always enjoyed making inked backgrounds by sponging distress inks; however, I had overused my sponge-daubers and ink blending foams owing to which they were badly worn out! I got my new ink blending tools from Amazon (Thanks, Ishani, for the recommendation). These work beautifully with Iris cardstock.

Now onto my card.
I sponged the distress inks (fossilized amber, squeezed lemon, spiced marmalade) over the top edge of a 5 by 7 card base. Next, I sprinkled some water droplets randomly over the sponged area using a paint brush and I dabbed over these drops lightly using a tissue paper; this step lifts some water off the sponged area, giving a beautiful texture. Because I wanted to add some shimmer, I sprinkled some silver paint from the Gansai Tambi watercolour paint set. The effect looks beautiful in real.
Next, I added a strip of black coloured card stock with a heat embossed sentiment, on the card base using double-sided foam tape. I stamped the Elf image on a piece of Iris card stock, fussy cut, and adhered it over the sentiment strip, using double-sided foam tape. I decided to leave it uncoloured, mainly for two reasons: 1) I liked the effect of black-and-white image against a vibrant background and 2) I was running out of time and had to finish making this card quickly ;)

What do you think? Yay or nay?

Have a great Sunday, folks!

Linking this card to the following challenges:
AAA cards- CAS game#155- Along the edge (I chose to skip the optional twist)


Monday, 2 December 2019

One for the Holiday Season

Hello, hello my dear blogger friends!

How have y'all been?

I've been MIA from the blogland since several months; I'm still learning how to find that (elusive) balance between managing my new job (that I joined in March this year), home and children. Experienced ladies, I could use some time-management tips from you ;)

I managed to make a couple of cards last weekend! Yayy for that! ;)

I'm sharing one of those cards in my post today.


The cutie image is from Your Next stamp-Sprinkles-Coffee and Tea and the sentiment is from My Favorite Stamps-Hug in a mug.
I started by slightly sponging the center of a 4 1/4 by 5 1/2 inches card front with distress ink (ground espresso). Next, I stamped a few snowflakes from the aforementioned MFT stamp set, using Memento ink (summer sky) for stamping. The main image was colored using Zig brush pens and it was adhered to the sponged area using double-sided foam tape. Finally, I stamped the sentiment and finished off my card with some color-coordinated sequins.

Linking this card to
Inkspirational challenge #201- Naughty| My card features a naughty bunny in the cup :)
Addicted to stamps and more challenge #369| CAS
Would love to know if you liked this one.
Thank you so much for stopping by.


Hugs!